My daughter's teacher asked me last week if I could repair their old, worn out recess ball bag. The bag had completely come apart along one side and most of the bottom, and let's not even mention how dirty it was from being dragged on the floor! I told her there was no hope left for that bag, but I'd be more than happy to sew a new one. She gave me what was left of the old bag for measurements, and later that night, Ella and I picked out fabrics.
I had recently received a half yard bundle of the latest collection from
Blend Fabrics--
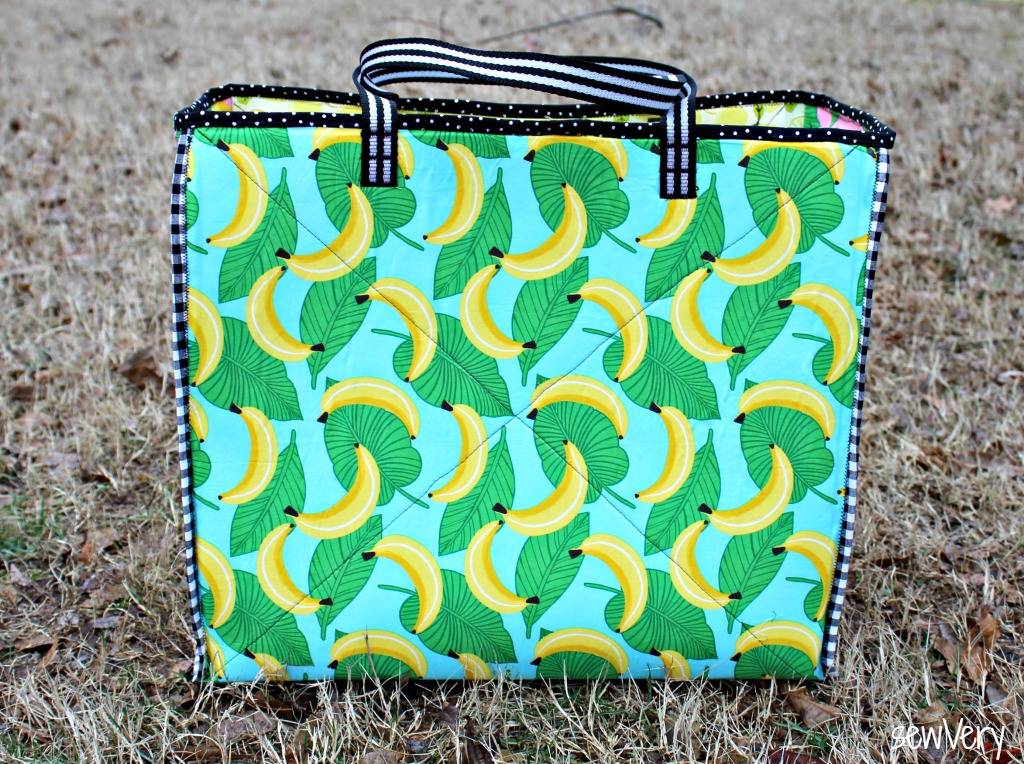
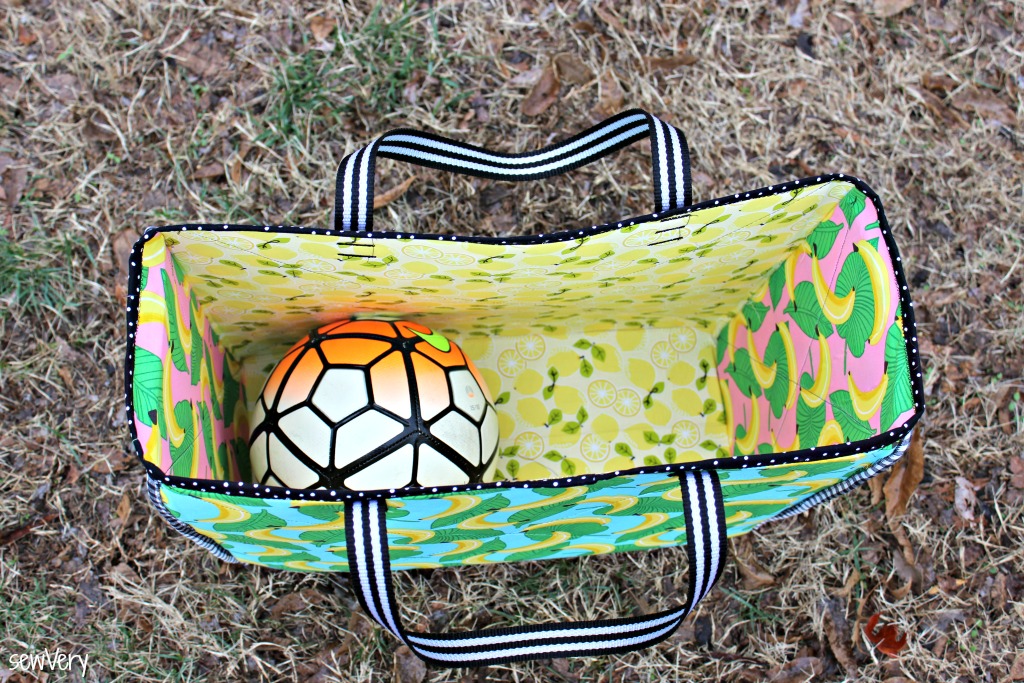
Tutti Fruitti by Maude Asbury. When we saw the That's Bananas fabrics in pink and blue, Ella immediately said those were perfect for her class because they were wild and kooky like monkeys! We decided to use the Lemon Drop in yellow fabric as part of the lining simple because it was yellow like a banana! What we came up with we dubbed the Go Bananas Bag!
Disclosure: I was provided some fabrics used in this post in exchange for sharing a project I sewed with it. All opinions are my own.
Now, I didn't take photos for a tutorial because I needed to make this bag in a hurry, but I will give you basic measurements and instructions for the construction in case you want to make your own Go Bananas Bag. This is a very large tote bag that is perfect for carrying a variety of items, especially recess equipment likes kickballs, soccer balls, jump ropes, and a first aid kit.
Keep reading for the details!